Showing posts with label CSA. Show all posts

8.09.2012

Veal Ricotta Meatballs

Following the theme of my freezer cleanse, this is what I did with the ground veal from my CSA share last year. I've never worked with veal before (ground or otherwise), so this was an interesting learning experience (catching the theme here???). I found this recipe for veal ricotta meatballs, and the author was so enthusiastic that I felt I couldn't not try it. In fact, she did such a great job of selling the importance of making your own ricotta cheese for the dish, that I did that too (see the post on homemade ricotta cheese)!!
Ground veal from Simmons Farm
Once the ricotta was done, putting the meatballs together was pretty easy. The first step was mixing the ingredients - ricotta, veal, two eggs, salt, pepper, nutmeg (?!), and a cup of parmesan and romano blend.
Pre-meatballs
The ricotta was quite sticky and was very sensitive to temperature changes. The more I worked it, the more it stuck to my hands. To roll the meatballs, I coated my hands in flour. That did an excellent job of keeping the mixture from sticking to my hands. I also dusted the baking sheet to keep the meatballs from sticking to it, and that worked very well. The recipe says to roll 9 meatballs...but holy crap...they would be HUGE!!! I honestly prefer smaller meatballs, but I suppose the giant ones are somehow more gourmet or something??? Anyway, I got 12 pretty big meatballs (and one Alex-size meatball) from the mixture, and they were quite large.
Aren't they gorgeous? My meaty babies.
The next step was to cover them and let them chill in the fridge for an hour. While they were chilling, I cleaned up the kitchen. :) Once they were chilled, I fried them in oil. This was a new experience for me - I've never used oil to fry anything. I wish there was a way to bake these without them drying out. I'm guessing the reason the recipe calls for them to be fried is because A) everything tastes better fried and B) frying makes a somewhat crispy outer shell that prevents the meatballs from drying out. So...I put what felt like a ton of oil into my largest skillet and heated it. This part was a little scary to me because I've been hit with hot oil before, and it really hurts! I was extra careful, and thankfully it was a fun and safe experience.
They look like scallops, but they're not!
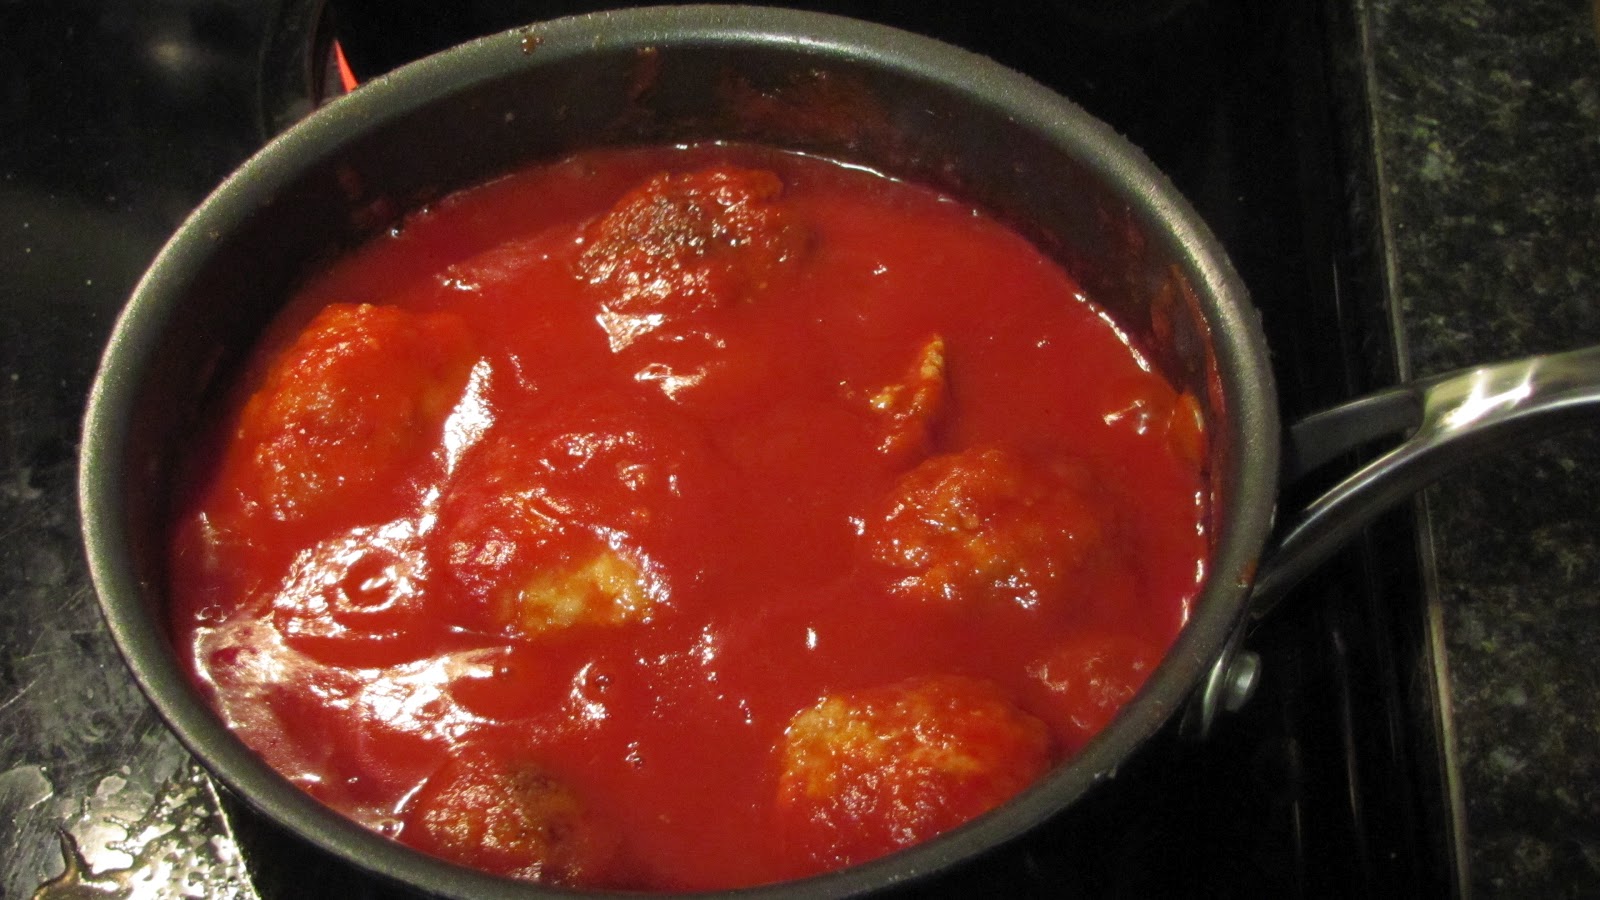
Once the meatballs had been cooked enough so that they were golden brown on both sides, I removed them from the oil and let them soak in tomato sauce. This recipe could be kicked up one more notch if the tomato sauce was homemade, but that would be expensive (I don't have tomato vines) and time-consuming. Maybe once I become a homesteader...
The meatballs enjoying a soak in the tomato sauce hot tub
Oh, I almost forgot - I made Alex a special meatball that I removed from the oil, dabbed with a paper towel to remove the excess oil, and presented to him as a gift of love.
It was just beautiful!

Alex with his very special meatball
After it was cool enough, I broke it into small bites (as cheese oozed from everywhere), and Alex DEVOURED it! He absolutely loved it. Have I mentioned that his favorite food is cheese? I couldn't help myself...I ate a tiny bit of his meatball. :) It was AMAZING! Seriously...these could be served without tomato sauce (or with a number of other great sauces), and they would be wonderful just on their own!

So...after a 30-minute soak in the hot tomato sauce, the meatballs were ready. I made myself some rice pasta spaghetti and enjoyed one of the best meals I've had in a long time! I would definitely make these meatballs again. They would be perfect for a dinner party! Crack open some wine... Bake some garlic bread... Fix up a nice salad... And finish it off with a wonderful tiramisu! :)
"On top of spaghetti..."

8.08.2012

Goat Stew

In an effort to eat what's in my freezer, I'm slowly working my way through the various meats I've been hoarding from my CSA meat share last year. In this post, I'll share my experience making goat stew. Yep, that's right - GOAT! Poor little goat... If you've ever been to see the goats at Simmons Farm in Middletown, RI, then you may have met my dinner. I don't know how they decide which goats to slaughter, but I'm sure it's not an easy choice. Anyway...before I get too far off topic... I had about a pound of "goat for stewing" from Simmons Farm, and I had no idea what to do with it. I looked at several recipes and decided on this one for goat stew.
Mmmmm..."goat for stewing!!!"
The directions say to make a "marinade" of carrots, onions, garlic, celery, jalapeño (since I didn't have the other fancy pepper), salt, and pepper and allow the meat to sit in this "marinade" in the fridge over night. As a couple of comments stated, I've never heard of such a "marinade." Although it was pretty and smelled wonderful, I don't really know how much the flavors actually integrated or how much was absorbed by the meat. If I ever make this again, I will rub the meat with spices and allow THAT to marinate over night! Those little packets of Indian spices are perfect for recipes like this. I was actually surprised by the lack of spices, and unfortunately the dish was pretty bland (except for the heat from the jalapeño).
Ho hum...just another bland "marinade."
After much deliberation, I decided to try making the stew in my slow cooker, as the author notes at the end of the recipe that this is a viable option. As always, this was a learning experience. It turned out ok, but I have ideas about how to make it much better. Read on!
All set in the slow cooker!
So, the choice to use vegetable stock or wine was given (really? is that even a contest?), and I chose wine. What's the point in vegetable stock, anyway? Unfortunately, I come from the school of Cathryn Tibbett, which says that "if a little is good, a lot is better!" I measured the one cup of wine, poured it over the meat and veggies, and decided that didn't seem like enough liquid. I poured another healthy "gluck" of wine in and had a sinking feeling that was probably too much. While it didn't do any damage to the dish, it didn't really help anything, either. The stew ended up with a bit more liquid than I think it should've, but no big deal.

The other thing I learned had to do with the part of the recipe that called for the meat to be browned in oil then simmered. Since I chose to use the slow cooker, I wasn't sure if I should brown the meat first or just toss everything in. I decided that browning wasn't necessary (although people do this with things like pot roast...I guess it helps seal in the juice or something?), but I wasn't sure if I should still add the oil to the slow cooker. I decided to try it, and what I learned was that I don't think that was necessary. So, if I ever make this again I will either put no oil or just 1/2 the amount of oil into the slow cooker. I don't think it served any real purpose in the recipe other than to facilitate the browning of the meat, which is unnecessary using the slow cooker. I suppose I could've browned it in oil before putting it in the slow cooker, but why dirty another pan?!?!
The finished stew, over rice.
 So, I made some brown rice to compliment the stew. It was good but not great. It was pretty bland except for the heat, and it really could've used some real spices. The meat was very tender though, and that is a definite plus for using the slow cooker. I would make this again, with some modifications.

Beer Can Chicken

Last year, as part of my CSA meat share, I got two whole chickens. These beautiful birds have been sitting idle in my freezer since then, and that's unacceptable. I've wanted to try beer can chicken for a long time, and I finally did it! This was a huge learning experience for me. I used this recipe as a guide, and I made several alterations based on others' comments and my own intuition. It might be easiest if I go through the process step-by-step.

Of course, two days before I planned to grill the chicken, I took it out of the freezer and put it in the fridge to thaw. It felt like Thanksgiving, friends. A very small Thanksgiving, but Thanksgiving nonetheless! It was very exciting!
My dear chicken, who I thanked for its life.
 The night before I planned to grill the chicken, I made a "sauce" of melted butter and two packets of some amazing Indian spices (labeled as goan fish curry). I loosened the skin from the chicken and shoved as much of the sauce as I could under the skin - but I saved some to add to the beer for the grilling process. This was also a learning experience, as I've never loosened chicken skin before. Basically, don't worry too much about ripping the skin, and let your fingers do the work. Oh, and use a glove (or two). :) After I seasoned the chicken, I covered it and put it in the fridge over night (along with the reserved butter/curry sauce).
Seriously, use a glove!
The chicken after I rammed magic sauce in every crevice, nook, and cranny!
So, the recipe says to preheat an outdoor grill to low heat. Since my grill has a thermometer (that measures the inside temp of the grill), I preheated it to 350. Just FYI, a good general guideline for grilling chicken is 15 minutes per pound at 350 degrees. Also, it's important to be sure you've got enough propane to get the job done, since the bird will need to be out there at least an hour (depending on the size of your bird). Here's a great website with instructions on how to calculate how much propane you have in your tank.

While the grill was heating, I warmed up the sauce I'd reserved from the marinating process and found a good use for the 1/2 can of beer. (Side note: WTH would the directions tell you to "DISCARD" half the beer?!?!?! That is such a complete waste!) I had some blueberries from the bush in my back garden, and I added them to the beer like they do for the "Blueberry Blonde" at Coddington Brewing Company. :)
Discard the extra beer? NO WAY!!!
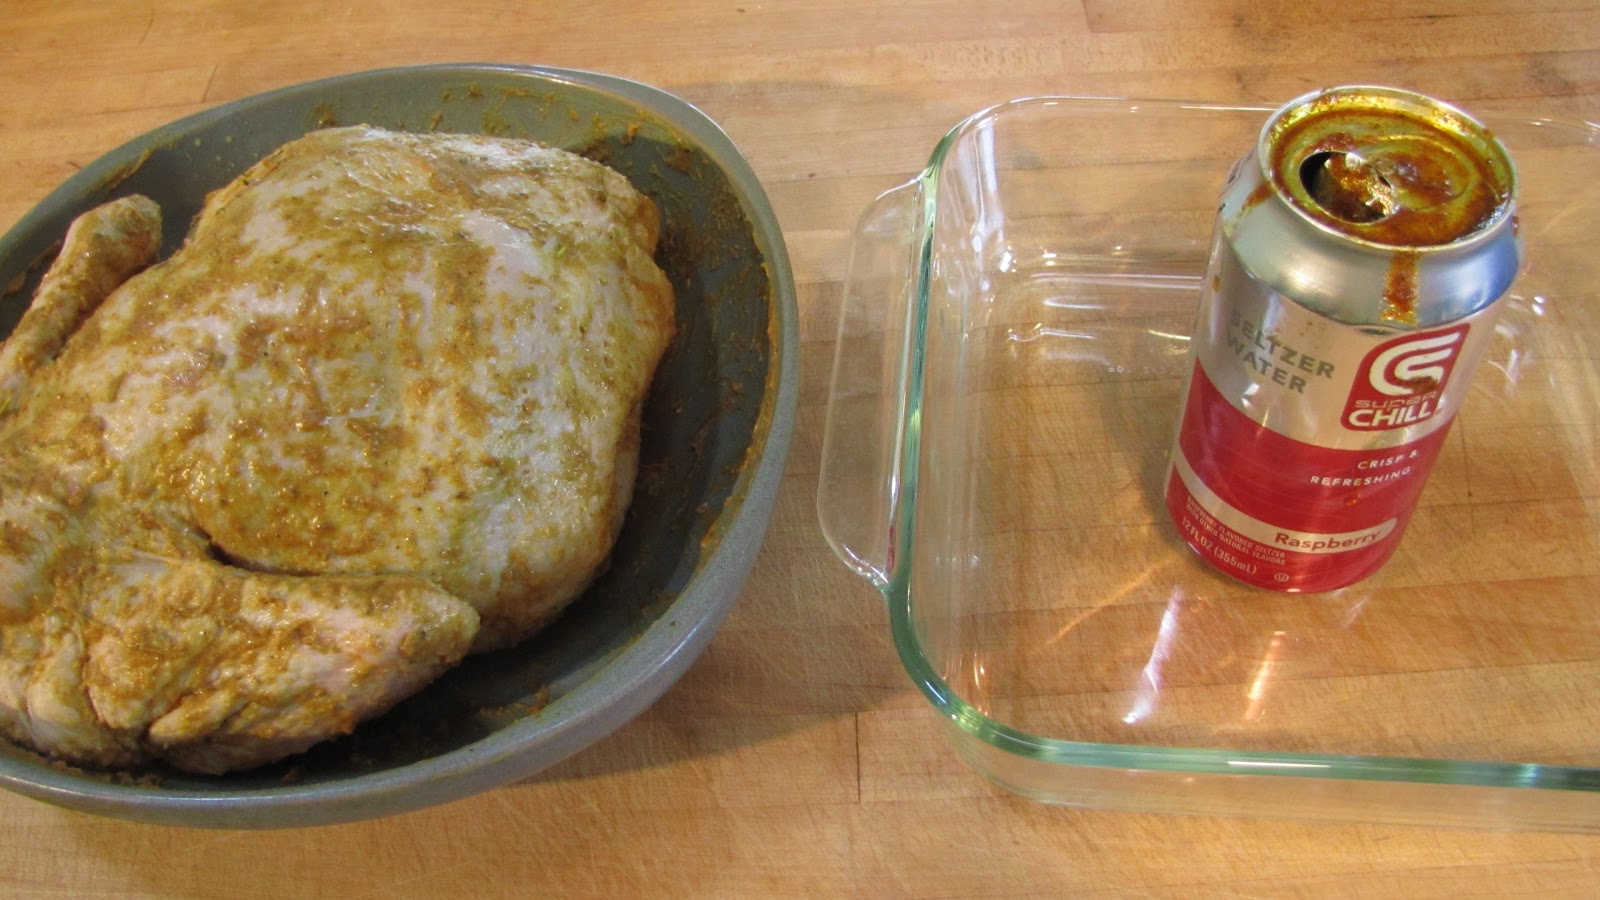
I forgot to mention that I took the beer out of the fridge along with the chicken, as it helps if the beer is room temp when you add the butter sauce. Anyway, I added the butter sauce to the beer (I had to put it all into a used seltzer can since I drink beer out of bottles!) and sprayed the can with some cooking spray (this helps it slide out of the chicken much easier after grilling is complete).
Chicken, meet can. Can, meet chicken.
The recipe says to use a disposable baking sheet, which I thought sounded like one of the worst ideas ever. I used a 9x9 glass baking dish instead, because it is very stable and holds up to heat very well. Someone suggested lining the baking sheet/dish with foil to make cleanup easier, but I decided I preferred stability over ease of cleanup (I thought the foil might make things slide around). The other thing to remember BEFORE you start the arduous journey from the kitchen to the grill is - if you have a bun rack attached to the lid of the grill, you will probably need to remove it for the lid to close properly. This is something you may want to test ahead of time.
Whew! We made it to the grill!!!
Ok, so my dear little chicken made it to the grill, I had enough gas, I drank the blueberry beer, and about an hour and a half later...
The best chicken I've ever tasted!
...I ate some of the best chicken I've ever tasted! People, I HATE CHICKEN SKIN!!! I think it is the most disgusting thing! The skin on this chicken was unbelievable! I seriously just sat and ate skin. The skin was better than the meat - no joke! It was absolutely delicious!!! I threw a couple of sweet potatoes on the grill with the chicken, so for the next few nights I had chicken and sweet potatoes for dinner...FABULOUS!

One more important side note is that the beer will bubble up out of the can, and that's ok. As you can see from the condition of my baking dish - this is a messy operation. Also, keep your eye on the neck, as part way through grilling you may need to cover it. I put some foil over my bird at about the 45 minute mark or so, and I'm glad I did. ENJOY!!!

2.26.2012

Pork Chops & Apple Sauce

Remember that episode of "The Brady Bunch" where Sam and Alice joke about having "pork chops and apple sauce" for dinner? Well, they were really onto something...it's a great combo! Personally though, I think pork chops and cranberry sauce is an even better combo. For months, in my freezer I've had two pork chops from my meat share at Simmons Farm, and I really really REALLY wanted to eat them. Well, it's the end of February, but all week last week the high temperatures were in the 50s, so I decided that it would be fun to defrost the pork chops and grill them. I already had a can of cranberry sauce (with whole berries), so I just needed a veggie. I've wanted to try smashed cauliflower for a long time, so I looked up some recipes and bought a head of cauliflower. So, it turns out that making smashed cauliflower is one of the easiest things to do ever!

Step one: Cook the cauliflower.

My method of choice is to steam it in my grandmother's fancy veggie steamer that looks like a double-boiler.

Step two: Smash the cooked cauliflower.

I've been dying to use my Blendtec for whatever I can, so instead of employing the potato smasher, I used the blender.

Step three: Add butter, salt, pepper, milk/cream, cheese, etc. to enhance the flavor of the smashed cauliflower.

Step four: Enjoy!

Ok, so using the Blendtec resulted in smashed cauliflower with the texture of thick yogurt or creamy frosting, but it tasted delicious!

So, the next time I do this I will either consult the user's manual for the Blendtec, or I will just use the potato smasher and some serious elbow grease...LOL It was very tasty, despite its creamy consistency!

7.17.2011

Summer Squash Enchiladas

This week in my CSA drop, I got two of the cutest zucchini you've ever seen! Zucchini is one type of summer squash (see how much I'm learning from being a CSA member?). Last week, I got two yellow summer squash - so there I was...with four summer squash and a million ways of cooking them. Luckily, I have a cookbook called "The Classic Zucchini Cookbook: 225 Recipes for All Kinds of Squash," and on page 78, there is a recipe for "Summer Squash Enchiladas."The link is to the recipe, but the site credits it to the "Joy of Gardening Cookbook." The only difference I noticed between the one I used and the one online is that the online version calls for vegetable oil (mine used olive oil) and calls for the squash to be steamed before it is added to the onions and garlic (mine just called for it to be added to the onion/garlic mixture).

I just love a shot of the ingredients!
Yes, that's half & half...I don't normally use milk for anything, and the half & half at my market comes in the perfect sized containers, so I went with that. :) If I ever make this again though, I will probably just use milk, because the sauce was too thick. The sautéd squash mixture was delicious by itself, then adding the scrumptious cheese mixture added dimensions of taste and texture.

The sautéd squash
I planned to take pictures of the sautéed squash, the cheese sauce, and then the two mixed together, but in my excitement to get everything together I forgot to shoot them before I mixed them! :(

The baked enchiladas
 I used lavash instead of tortillas (there's a story here, but I won't bore you with it), so rolling the enchiladas was a bit challenging, but it worked ok. There was enough of the squash and cheese mixture left over for my dinner, so I will have to wait until tomorrow to have an enchilada. I'm excited to put tomatoes and sour cream on one and enjoy it! These enchiladas look deeeeeeelicious!

7.16.2011

Cabbage Kielbasa (Organic Turkey Sausage) Supper

Ok, so I said I got a head of cabbage with my CSA drop this week, and what better way to eat it than with Kielbasa? I found an easy slow cooker recipe for cabbage Kielbasa supper, so I'm giving it a try. Believe it or not, I've never cooked with cabbage before. Growing up, I associated it with things like sauerkraut and horseradish, and I didn't want to have anything to do with it if I could help it. Funny thing - I love coleslaw, but I didn't know it was made of cabbage when I was younger! As an adult, I never thought you could do much with cabbage other than coleslaw, and that always sounded like a lot of work!

A few weeks ago, I had cabbage and Kielbasa soup for the first time. Tentatively, I dug in, and before you could say "cabbage and Kielbasa," my bowl was empty! I loved it, and it was the first thing I thought of when I chose my head of cabbage on Thursday. Add the bonus of finding a slow cooker recipe, and I'm one very happy girl!

I wasn't about to ruin the organic amazingness of my locally grown cabbage with some random, pre-cooked conventional cow/pork parts ground up and shoved into casings...oh NO! Instead of Kielbasa, I got organic turkey sausage. :) AND...instead of frying it on the stove, I GRILLED it! Since cabbage and potatoes are pretty bland, I figured grilling it would add a really nice taste dimension to the dish (take that, Gordon Ramsay!).

Grilled organic turkey sausage is WAY better than pre-cooked conventional sausage.
Step one: cut the cabbage. Well, um...I figured there's got to be a "best" way of doing this, and thanks to the magic of the interweb, I found this handy tutorial.

I LOVE the step-by-step directions + photos!
Step two: peel and cut the potatoes, chop the onion, and throw everything into the slow cooker!

Um...well...this was JUST the cabbage. See step three.
Step three: take out some of the extra cabbage and replace as the mixture cooks down.

Here is the finished dish - DELICIOUS!
Step four: ENJOY!

Simmons Farm CSA

It wasn't until about a year ago that I first heard the term CSA (Community Supported Agriculture). It's a brilliant concept where (non-farmer-like) people from the community pay a local farmer (up-front) for a share in her/his harvest throughout the growing season. Yes, it can be a little pricey, but I believe it is totally worth every penny (and more!). This year, I'm a member of the Simmons Farm CSA - let me list the reasons why I'm happy to be participating:
  • The farm is less than 5 miles from my house (4.6, to be exact);
  • The farm has been around since about 1643, and it has stayed in the same family that entire time;
  • In 2004, the livestock and the 102 acre farm were certified organic;
  • I know my farmer, Karla, on a first-name basis, and she knows me, too;
  • I can see where the fruits and veggies are grown;
  • I can get organic eggs, cheese, and meat from the farm, too;
  • I can meet the animals and see how they are treated;
  • I'm exposed to veggies I probably wouldn't eat otherwise;
  • I'm learning how to eat what's in season;
  • It feels good to support a local, organic, family-run farm!
There are plenty more reasons why I'm so grateful to be participating in the CSA at Simmons Farm this year. Here are some of them:
The week 6 bounty - it's too much to list!
As you may or may not be able to see from the picture, I've got cabbage and zucchini to use this week. I think I will make cabbage Kielbasa supper with the cabbage, but can you believe I've never cooked with cabbage? There will definitely be a blog post about that. :) I thought about baking with the zucchini, roasting it, or even grilling it, but I've got an awesome cookbook called "The Classic Zucchini Cookbook," so I decided to poke around in there to see if anything sounded good. I found a recipe in it for summer squash enchiladas that sounds to die for (maaaaaybe it's all the cheese in the recipe, but who knows!), so watch for that post, too!

A closer look at the AMAZING pork chop that was my meat share this week.


As an add-on to my veggie share, I chose to participate in the meat share, too. Simmons farm also offers egg and cheese share add-ons, but I decided to stick with just veggies and meat. I've already gotten and enjoyed some breakfast sausage (seriously, the BEST sausage I've ever tasted EVER) and some hamburger (oh. my. gawd. best. burgers. ever!). I'm currently hoarding another package of ground beef and a package of sweet Italian sausage in the freezer! I already know what I'm going to do with the sausage...stuffed eggplant...YUMMY!

Gotta run...I've got some cooking to do!